
It seems that it takes me at least 3 muslins before I am ready to cut the pattern in the actual fabric and this blouse was no exception.
PatternReview is having a contest in which you had to use a pattern printed (better said published) prior to 1981. I had been wanting to make this blouse for a while, now was the perfect opportunity.
This is Vogue 5883. Understated elegance.

After much thought I decided to use the left over lawn from the Vogue dress I made (https://dressmeinsilk.wordpress.com/2016/06/19/ive-been-sewing/). I had purchased an extra 2 yards back when I was making the dress just in case I messed up and I had to recut any piece (which fortunately, I didn’t have to do).

Muslin 1: Since the blouse has a french dart I decided to just cut a great big front and a regular sized back, put in the darts and loosely try on the blouse. I don’t like using the actual pattern to do this, but I could have saved some fabric by doing it that way. I ended up having to move the dart down about 2 inches, which I did by cutting it out of the pattern and sliding it down. Then I redrew the side seam lines.
Muslin 2: This fit a lot better, but I was surprised to find that the back was a bit too broad and needed some adjustment. The french dart point was still t0o high, so I lowered it another 1/2 inch.
Muslin 3: This time I also added the collar to see how that affected the fit. We were good to go. I wasn’t thrilled with the front dart, but I had several people take a look at it and we all agreed that it looked good – just not perfect (a bit of an obsession of mine that gets me no where).
I wanted to stay with the 1963 instructions so I put my serger away – that’s not a huge hardship. The serger is new and I still haven’t gotten the hang of it. So right now it’s not my friend.
I finished the seams by folding them over about 1/8th of an inch and machine sewing them. There really were only four seams that needed finishing: the two shoulders and the two side seams.

The blouse is supposed to have a zipper on the left side, but I found while doing the muslins that I could get it on over my head (carefully) and didn’t need the zipper. That was nice. A zipper seemed like it was going to be heavy on the very light weight lawn I was using.
The collar is cut on the bias and it is interfaced. I am pretty sure that they didn’t have fusible interfacing back then and the sewing instructions only show the interfacing being sewn in. Not as easy as it seems. I used the same fabric for the interfacing, but it on the bias as well (only half the width), and then catch stitched it to the fold line of the collar.
I turned under and machine sewed the outside edge of the armhole facings and then hem stitched them to the inside of the blouse once I had attached them.
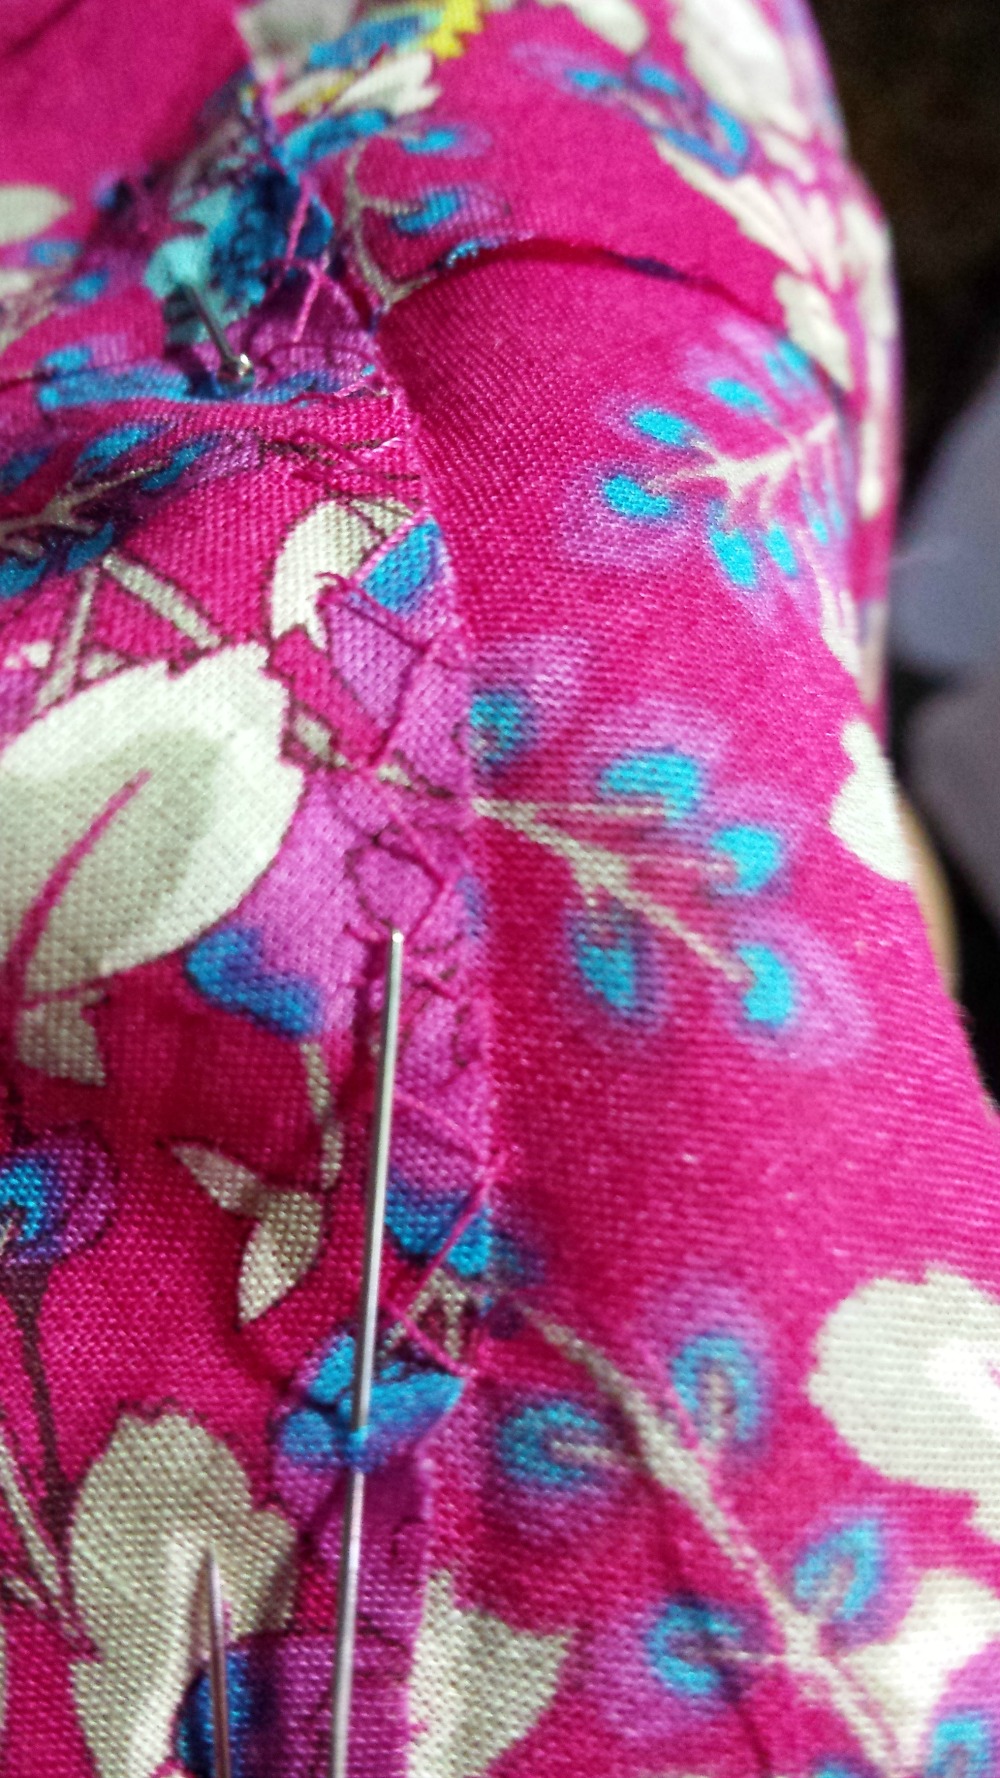
I had to cut a 1-1/2 inch wide bias strip to go over the collar seam. So now we have the blouse fabric, three layers of the collar (that includes the interfacing) and a bias strip. I sewed it all together, graded the seams, pressed it, pressed it again, and then for good measure, pressed it again. Then I hem stitched the folded over bias strip to the blouse. It makes a very neat covering over all those layers of fabric.
The picture below shows both. The armhole facing is at the bottom, the collar bias strip sewn down is along the top. I know it’s hard to see with this printed fabric.

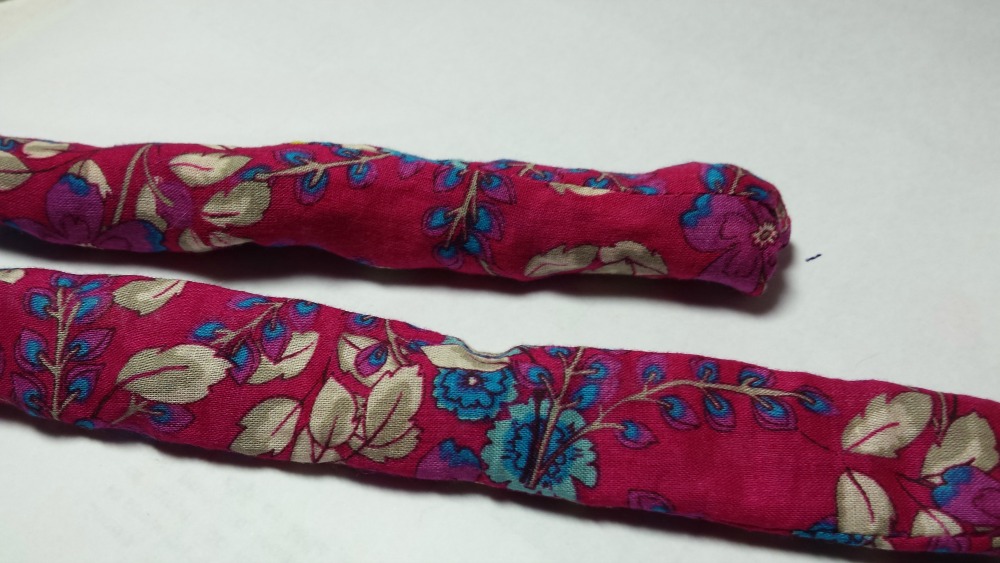
Next comes the sash, the self fabric tie belt. The drawing in the pattern instructions show the opening to one of the far ends of the sash, so that’s what I did. I sewed the right sides together and left about 2 inches open near one of the ends. Then I proceeded to pull it through. Ugh! Since I didn’t have enough fabric left to put the pattern piece on the fold (as they suggested in the layout), I ended up with a seam in the middle. Couple that with the fact that I had to pull a couple of feet worth of sash through you can see why I say Ugh. It took me three days of working short amount of times (I wanted to avoid total frustration in which I rip it apart or something more drastic).
Here is a couple of pictures of the sash as I worked on it. In the first it’s hard to tell, but almost all of the remaining part that needs to turn is bunched near the end there. The second picture looks head on to the part that still needs to be pulled out. Getting past the center seam really encouraged me and somehow made the project go faster.

I could not tell if they wanted me to sew the hem or hem stitch it. Judging from the rest of the construction of the blouse I decided to hem stitch it. I folded it under 1/4″ (I measured it by sewing a line of stitching 1/4″ from the raw edge. Then I folded it under an amount that seemed reasonable for the hem. I pressed it and then hem stitched it.
Here is the final result:
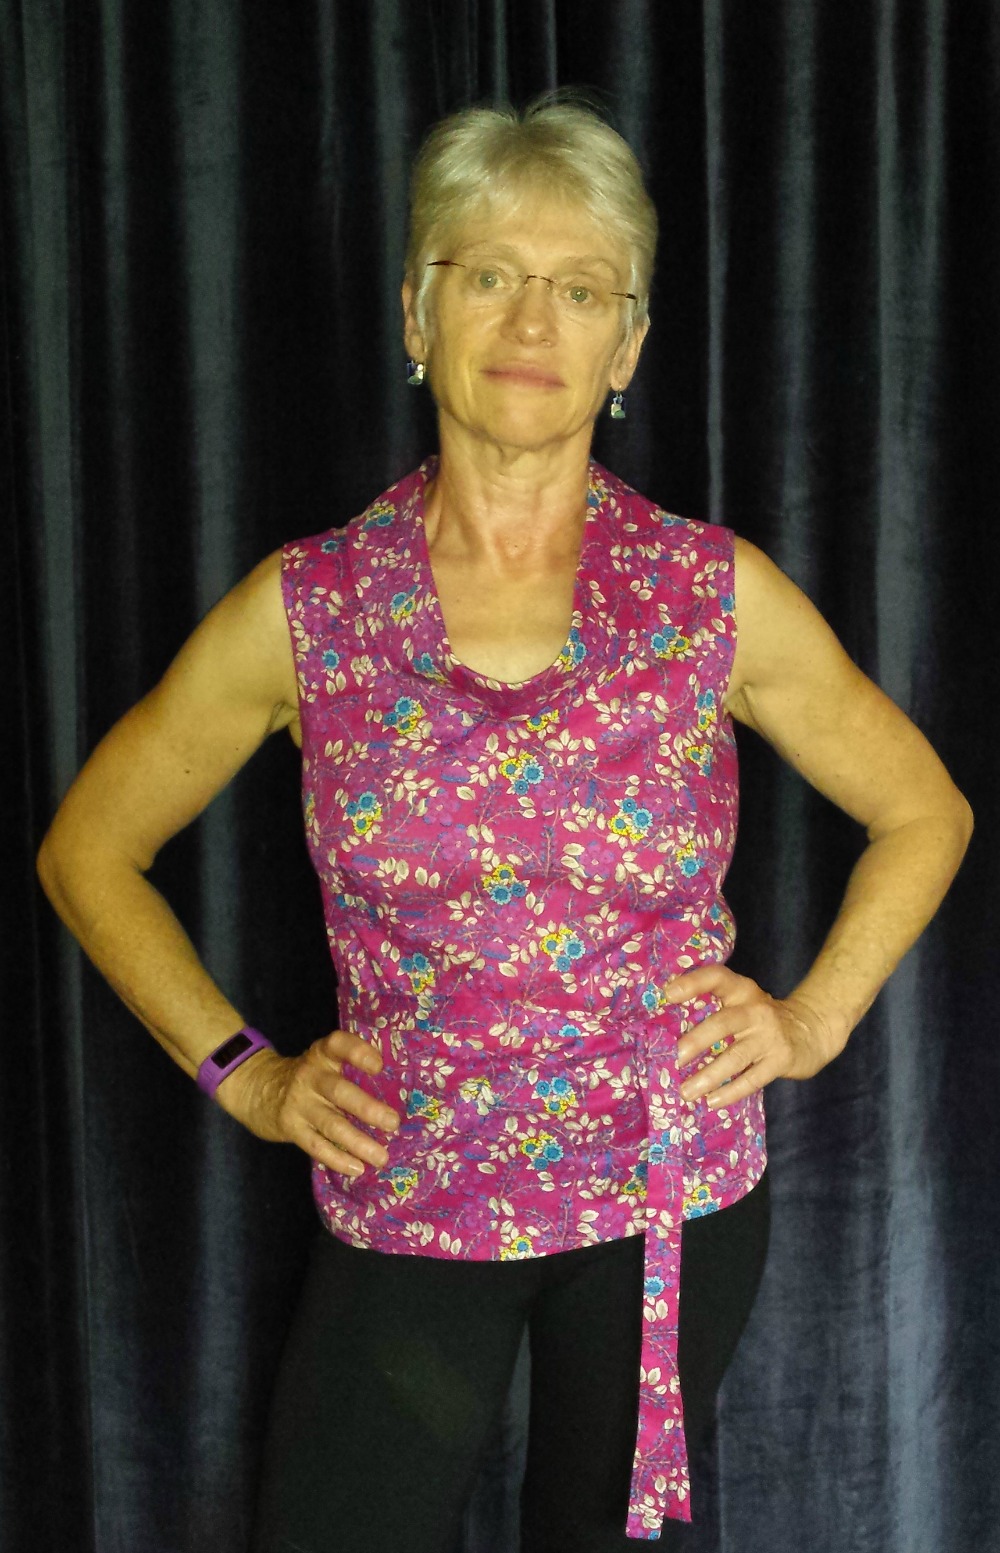
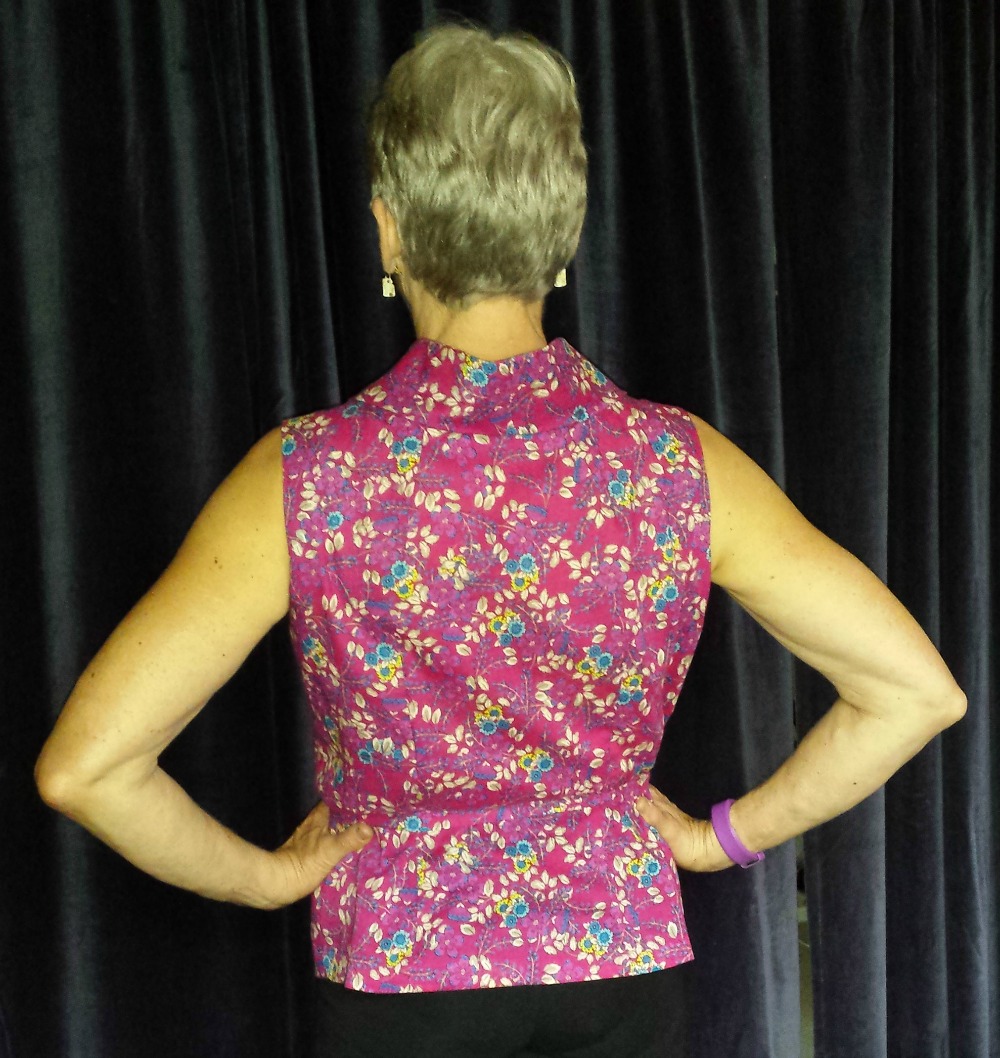

The collar isn’t really falling like it did in the envelope drawing – maybe I need to play with it a bit more. I pressed a fold in it, that might have been a mistake. But overall, I am pleased with it. It is very lightweight and comfortable to wear.
I was planning on making another version with the 3/4 sleeves using a solid color, but until I get that front dart better I don’t really want to do that – it will be very noticeable on the solid color. I might just get some more lawn and make a printed blouse with the sleeves. Not sure at this point.

Pingback: 1960s Blouse